How to Virtually Stage a Property on Stuccco
This post gives you detailed, step-by-step instructions for how to place a virtual staging order on Stuccco. The entire process takes less than five minutes and requires zero technical skills. All you need to place a virtual staging order is the photo(s) you’d like staged.
You can read the steps or watch the video below:
- Step 1: Visit Stuccco.com
- Step 2: Place a Virtual Staging Order
- Step 3: Make Your Selections
- Step 4: Checkout
- Step 5: Check Your Email
- Step 6: Get Your Virtually Staged Photos
- Step 7: View Your Property Page
- Step 8: Market Your Listing
Step 1: Visit Stuccco.com
To start placing a virtual staging order, type Stuccco.com (with three c’s) into your browser.

Stuccco.com homepage
If you want more detailed information about virtual staging and how it works, click on “Virtual Staging” (top right) OR “Get Photos Virtually Staged” (bottom left). Then, click “Get Started” anywhere on the next page, and it will take you to the order form.
Related: The Definitive Guide to Virtual Staging
To go directly to the order page from the home page, click “Place Order” (top right), then choose “Virtual Staging.”
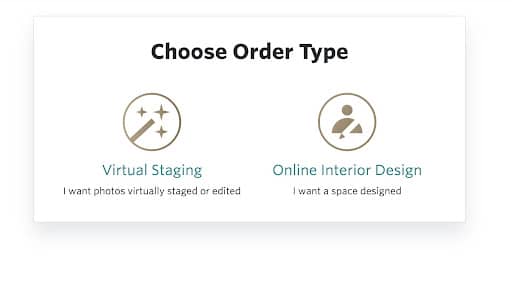
First page of Stuccco’s virtual staging order process
Step 2: Place a Virtual Staging Order
Now you’re ready to place an order! You’ll discover so many benefits of virtual staging.
If this is your first time using Stuccco, you will be asked to add your contact information. If you’ve placed a virtual staging order in the past or have an existing Stuccco.com account, you can sign in and you will automatically skip over this step and be taken to the next step in the checkout process.
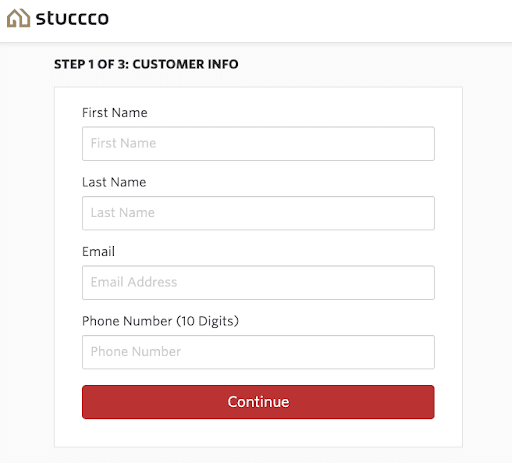
After providing your contact info, click Continue.
The next step is to upload the photos you want virtually staged from your computer or device. You can choose up to fifteen photos in a single order. If you’d like to have more than 15 photos virtually staged, you can place multiple orders (when prompted, give the same property address and Stuccco will automatically associate the orders).
Start by reading the full breakdown of the best tips to take real estate photos for virtual staging.
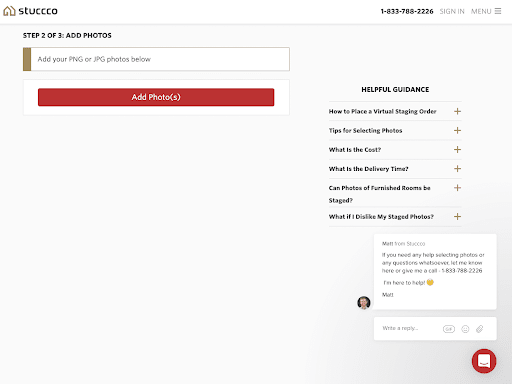
If you’ve never used virtual staging before, make sure that you upload high resolution photos, meaning at least 1,500 - 2,000 pixels wide. High quality photography will make all the difference in the final virtually staged photos you receive.
If you aren’t sure that you have high resolution photos, reach out to your real estate photographer or contact us via the red live chat button on the bottom right of the screen. You can also call us for help at 1-833-788-2226!
You can also click on any of the questions on the right side of your screen (“helpful guidance”) to get answers to common questions.
Virtual staging is an effective way to stage and sell every type of property. Read more about staging an apartment and ways to stage outdoor spaces.
Step 3: Make Your Selections
Now it’s time for the fun part! The rest of this page focuses on room specifics and your design preferences. You’ll choose:
- Room type
- Virtual staging services
- Design requirements + reference files (optional)
- Design style
- Delivery time
To get more information on what each of these mean, read on.
Room Type
Since we receive images showing all types of spaces, it’s helpful to know exactly how you’d like each photo staged. There are 15 room types for you to choose from.
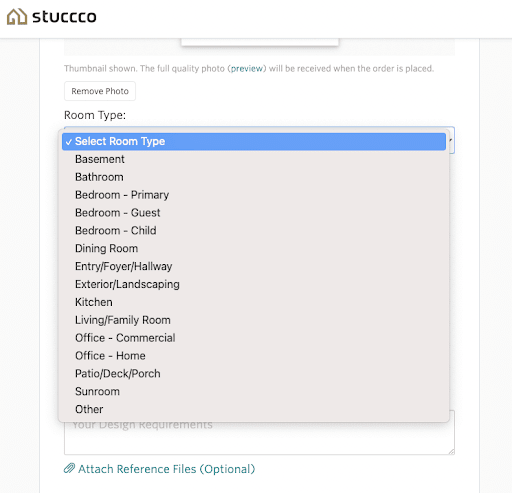
Virtual Staging Services
Virtual staging can actually mean a lot of different things, from removing clutter to changing paint colors and flooring to removing existing items and to adding new furniture. You get to choose exactly what you’d like to be done on each photo:
- Add furniture and decor
- Remove items and add furniture and decor
- Change interior wall, trim, and/or cabinet color
- Change flooring
- Change ceiling
- Change exterior wall, trim, and/or door color
- Change landscaping
- Day to dusk
- Enhance photo

If you aren’t sure what some of those services describe, you can click on the gray circle next to the service and price to see an example and read a description of the service.
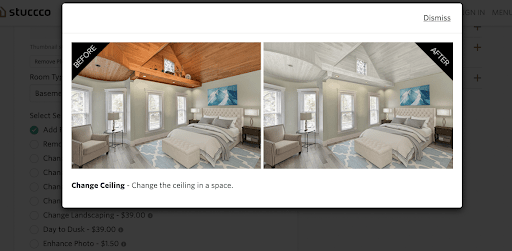
Related: Choosing between traditional staging and Stuccco virtual staging? Read Luxury Virtual Staging: Is it the Right Choice for High-End Listings?
Design Requirements
Immediately below the list of virtual staging services, you’ll see a box asking for your design requirements.
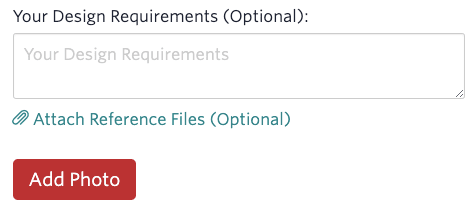
You are more than welcome to skip this box if you do not already have a specific vision for the room’s staging. However, if you want specific things changed, you can specify them here and Stuccco’s design team will read and take them into account when staging the photo.
You can also use the “Attach Reference Files” link to upload reference photos for us to reference when staging the photo above.
Design Style
If you chose a service that includes having furniture and decor added to a photo, you’ll be asked to select a design style you would like to be used when virtually staging your photos. There are seven design styles to choose from:
- Comfortable contemporary
- Farmhouse
- Industrial/urban
- Modern
- New traditional
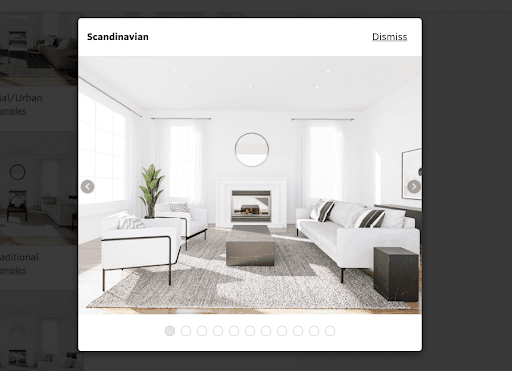
- Scandinavian
- Sleek contemporary
If you aren’t sure what design style to choose, you can click “I’m unsure, let my designer choose a style for me” and Stuccco will do exactly that.
For more information on what each design style looks like, you can click “View Examples” and click through a variety of staged images in that style.
Delivery Time
Your delivery time is the final selection you need to make. By default, all photos are delivered in 24 hours, seven days a week. However, if you’d like to have your staged photos done in 12 hours, you can select that option for an additional fee of $10 per photo.

Step 4: Checkout
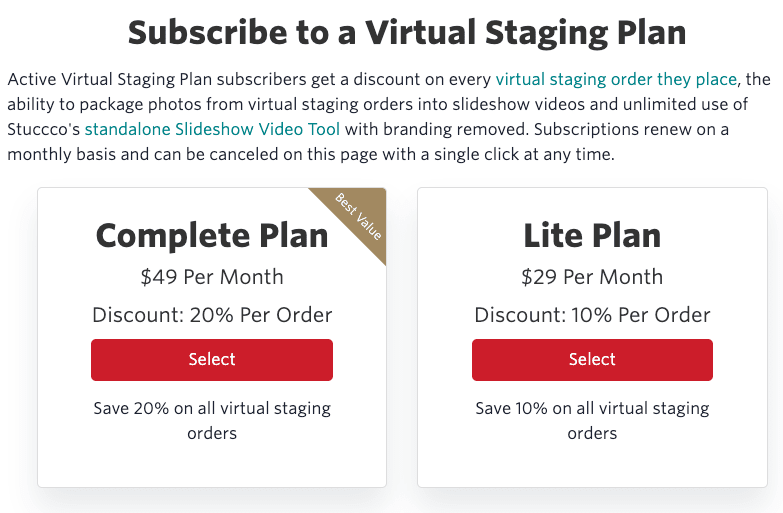
If you are not subscribed to a Stuccco Virtual Staging Plan, the next page will show you three different options to choose from. The plan options help you save money on every virtual staging order and include additional features such as the ability to generate a slideshow video of your virtually staged photos. If you aren’t ready to sign up for a plan, you can choose the Pay as You Go option.
The last step of the order process is to enter your payment information and checkout.
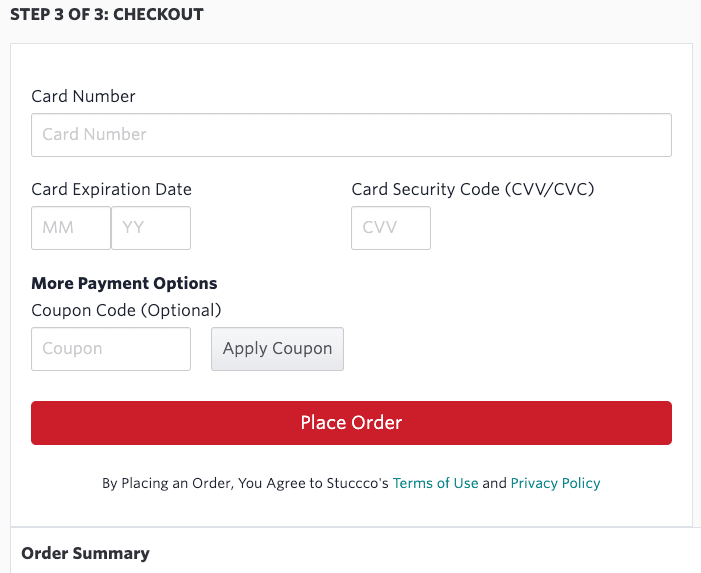
Your order is complete!
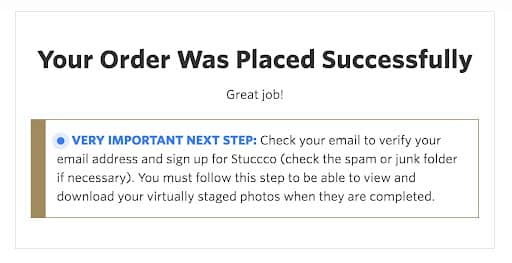
Step 5: Check Your Email (First-time Users)
If it was your first time ordering from Stuccco, you need to check your email to complete registration. You must complete registration in order to log in to Stuccco and receive your virtually staged photos when they are completed.
Look for an email with the subject “IMPORTANT: Sign Up for Stuccco.” Open that email and click the link inside.

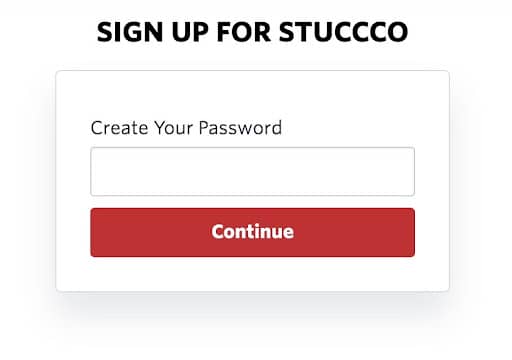
Click the link in the email to verify your email, then create your password:
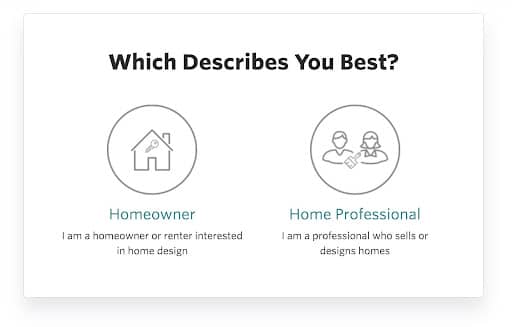
Choose your user type (likely “Home Professional” if you work in real estate):
And confirm your contact and business info (this helps us communicate with and serve you in a personalized manner):
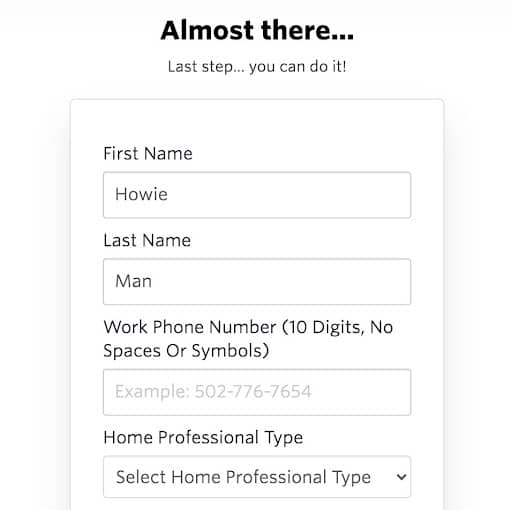
You will only need to complete the signup process once.
Step 6: Get Your Virtually Staged Photos
Now you’ll be signed in! You can view your Orders from the menu on the top right of the homepage.
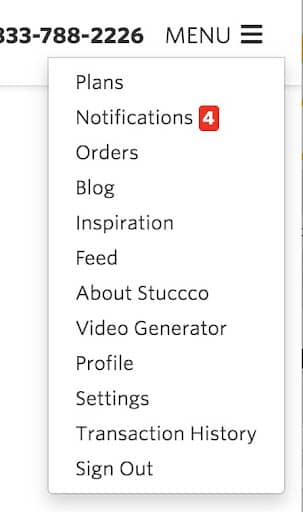
You’ll see all of your past orders right here.
By clicking “View Photos,” you’ll be able to see the order’s photos and much more info about the virtually staged order you placed.

When your virtual staging photos are completed and ready to be viewed and downloaded, you’ll see them appear in the “After” column of your virtual staging order’s Photos section:
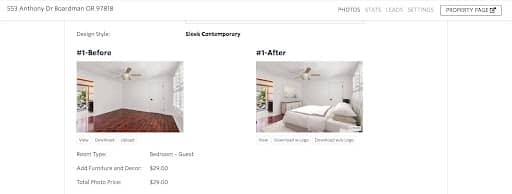
You can download all of the staged photos to your device by clicking the “Download Staged Photos” button at the top of the page:

Or you can download a particular virtually staged photo with or without the Stuccco Virtual Staging mark on it by clicking on the “Download w Logo” or “Download w/o Logo” buttons immediately under a virtually staged photo.

You can also share your virtual staging order with others by clicking the “Share Order” button at the top of your virtual staging order. This feature is designed for administrative assistants and marketing coordinators who place virtual staging orders on behalf of a real estate agent or broker.

By scrolling further down the page, you’ll see a few more features.
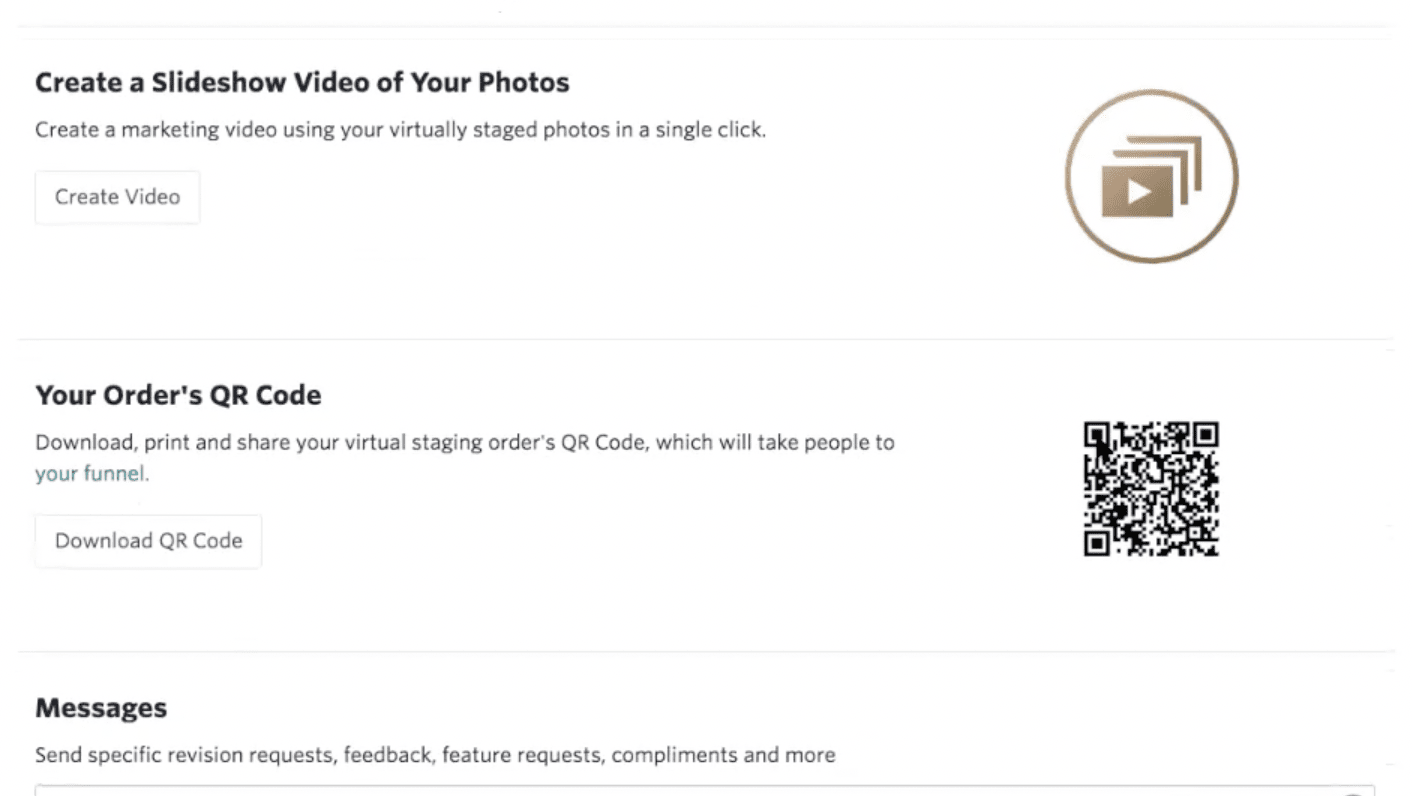
By clicking “Create Video” Stuccco, you can generate a slideshow video of your virtually staged images. Videos are a great way to drive engagement for any real estate listing. Please note this is a premium tool that is only available to active subscribers of a Stuccco Virtual Staging Plan.
You can also download a QR code that you can add to property flyers or brochures. When scanned, this code will take buyers to your virtual staging order’s Property Page, which will allow them to learn more about the property and contact the listing agent. The QR code is a free feature available to all Stuccco virtual staging customers.
Step 7: View Your Property Page
When you click “View Page” you’ll see your single property landing page. This is automatically generated with your virtually staged photos and any property details you choose to add.
This property landing page is completely free. You can use this landing page to drive traffic to your clients’ properties and generate FREE buyer leads.
Your funnel also includes an analytics page to see how many pageviews and leads your Property Page has received. For more details, read about how to use single property websites to sell homes quickly and for the most money.
Step 8: Market Your Listing
Your virtual staging photos are complete! You also have a slideshow video, QR code and a property landing page ready to use. Now it’s time to market your listing and sell your property!


