How to Take Virtual Staging Photos
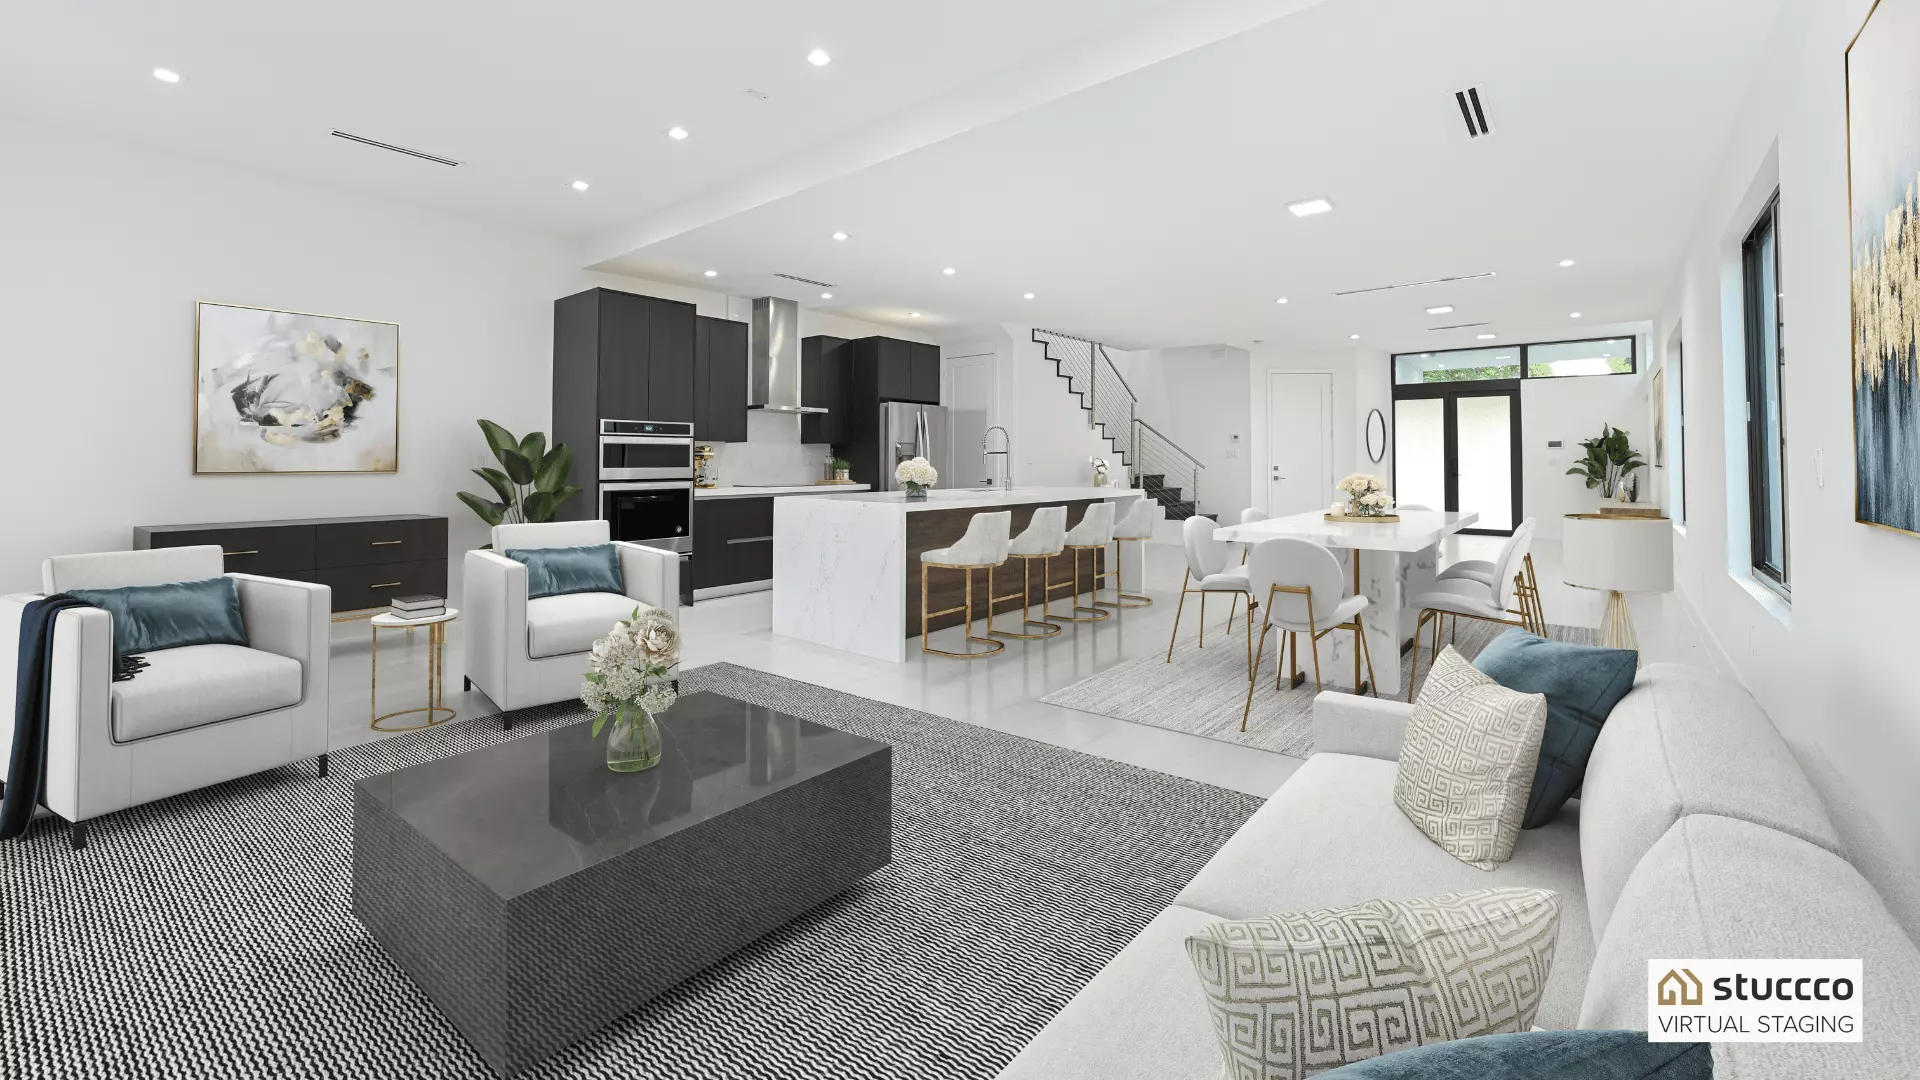
Virtual staging is an incredibly powerful way to show the full potential of any property in any location--and it can be done in 24 hours for a fraction of the cost of traditional staging.
In order to leverage the power of virtual staging software, you should understand how to take great photos of your listings. Although hiring a real estate photographer is an ideal solution, you can learn how to take high-quality photos through the tips in this article.
Here's what we'll cover:
- Virtual staging photography
- How to take photos for virtual staging
- Examples of good and bad photos for virtual staging
- 6 virtual staging and photography tips
If you're unfamiliar with how virtual staging works, start with the definitive guide to virtual staging. You can also read step-by-step instructions on how to place a virtual staging order.
Virtual Staging Photography
Virtual staging and real estate photography go hand-in-hand but they are actually two separate services.
Real estate photography describes the art of taking photos of properties for the purpose of marketing and eventually selling or renting them. If that's unclear, think about photos you see in home design magazines vs. photos you see in your favorite real estate listings.
Example of artistic interior photography
Photos of interior design typically focus on specific elements of the space and often have mood lighting. When you look at images like these, your focus is typically on the colors and the decor.
On the other hand, real estate photography is designed to target home buyers. Instead of using mood lighting or focusing on a specific feature or piece of decor, it will clearly show the space as a whole. Its purpose is to accurately appeal to the maximum number of potential buyers by portraying how this exact space could be used.
Related: 35 Home Staging & Virtual Staging Statistics
Real estate photography does not refer to what is actually in the room--it can mean taking photos of empty rooms, cluttered rooms, or staged rooms. It's more about getting the right lighting and position for the photo.
On the other hand, virtual staging is all about what's in the room--it's the art of designing a room to show its potential best.
For example, which picture do you think will impact interested buyers more?
Although real estate photography and virtual staging services are different, they strongly complement each other.
Related: Does virtual staging work for high-end listings? Learn more about Luxury Virtual Staging.
So how do you take great quality photos that can be used for real estate listings and for virtual staging? Let's dive in...
How to Take Photos for Virtual Staging
In an ideal world, all real estate agents can hire a real estate photographer, and then use those professional photos to complete virtual staging, and ultimately sell houses for more money. When possible, we recommend hiring a real estate photographer.
However, every real estate agent's situation is different. Photography may not be in the budget, or you may not have any real estate photographers in your area. It's okay--you can absolutely learn how to take high-quality photos for virtual staging on your own.
Because our name is Stuccco (with three c's), we categorized these steps into three C's: Clean, Camera, and Compose. You can follow the steps and even use the bullet lists to turn each section into a checklist.
This list has been made alongside the extremely talented real estate photographers at Diamond Home Imaging.
1. Clean the Room
The first step to taking a top-quality virtual staging photo is to prepare the physical space, starting by removing as much as possible from it. Although virtual staging services can remove existing furniture and decor, you might as well simplify the process when possible by doing it yourself.
Then, clean the room as if a potential buyer was about to walk in. Make sure all surfaces are cleared off and dirt-free, like counters, dressers, windows, floors, and walls. Make sure to put toilet lids down and close cabinet doors all the way. Before taking the picture, turn off all fans. Take this time to also make sure that all lights work and have the same color temperature.
Cleaning checklist:
- Remove all items from the room that you don't want included in your virtually staged photo
- Clean all surfaces (counters, floors, windows, and walls)
- Ensure all lightbulbs work
- Ensure light bulbs are the same color temperature
- Put the toilet lids down
- Close all cabinets or drawers
- Turn off all fans
2. Camera
Your camera's quality will inevitably make a difference in your real estate listing photos. Ideally, you should use a DSLR camera along with a professional quality wide angle lens (18-22mm). However, don't use an extra-wide angle lens, because it can actually distort the image.
When it's time to take the shot, there are a few simple tips that can drastically improve your photos. Start by mounting your camera on a tripod at waist level, or at about ½ of the ceiling's height.
Even if you have steady hands, a tripod will always do better and ensure that you get the maximum image clarity. It also ensures that all your listing images are taken from the same height, which helps viewers feel like they can get a good sense of the space. Also, make sure that you use the camera's HDR (high dynamic range) functionality because it reduces over- and under-exposed photos.
Make sure that you DO NOT touch the zoom button--as soon as you zoom in, you lose a significant amount of image quality. You probably won't be able to see it through the camera, but once the image is on a screen or in virtual staging, it can make a big difference. Also, DO NOT turn your camera to take vertical or upside-down photos--stick with horizontal photos. Use the camera's lever to make sure you're shooting all images straight on.
Camera Checklist:
- Use a DSLR camera with a professional quality wide angle lens (typically 18-22mm)
- Do not use an extra-wide angle lens (like a fisheye lens)
- Stabilize the camera with a tripod
- Take all photos from waist level
- Use your camera's HDR (high dynamic range) functionality, which will reduce over- and under-exposed photos
- Do not use your camera's zoom functionality
- Shoot in horizontal landscape mode and do not tilt the camera up or down
- Save photos in a high-quality JPG format (at least 2,000 pixels wide)
3. Compose
Finally, virtual home staging requires you to be very intentional about each image's composition--if you have no idea what that means, it's okay! It essentially comes down to the positioning of each photo.
In order to do this most effectively, you'll need to do some planning ahead. Pay attention to which rooms face east and west in order to plan the best time of day for your photos. Rooms that face east should be photographed in the morning, and rooms that face west should be photographed in the evening.
You should also look out the windows and note any spaces that have a good view, any spaces that do not have a good view, and spaces that have natural lighting or lack natural lighting. For spaces with a view or good natural lighting, open the curtains and blinds before you take the photos.
In each room, take photos from opposite corners. Make the image square with the focal point of the room. Be sure to also look around the room for areas that reflect. You want to make sure the camera's reflection doesn't show up in any windows or mirrors! Keep these photography tips in mind:
- Do not stand where furniture goes
- If there is a fireplace, do not cut the fireplace off
- For kitchens, take photos slightly above the counter
- For bathrooms, take photos slightly above the counter and below the mirror
- For bedrooms, photograph the wall where the bed's headboard will go
Composition checklist:
- Check which direction each window faces
- Plan the best time of day to take photos in each room
- Note any rooms with a good view
- Note spaces with too much/too little natural lighting
- Determine the focal point of each room
- Take photos from opposite corners
Bonus tip: Take a lot of photos! You can always erase the ones you don't need, but you can't go back and take better photos at a later date. If you're still learning how to take great photos, feel free to make plenty of adjustments so that you have a variety of options. As you perfect the craft, you'll be able to take fewer photos.
Examples of Good and Bad Photos for Virtual Staging
Since pictures can be worth a thousand words, let's look at some examples of photos that are ideal for virtual staging.
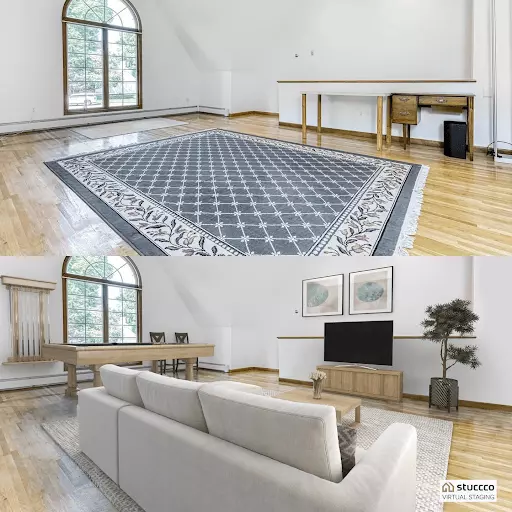
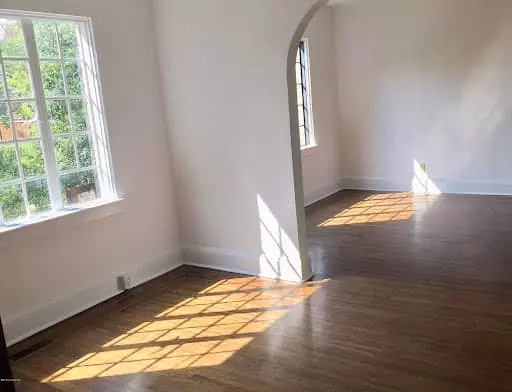
Example #1: Good Photo for Virtual Staging
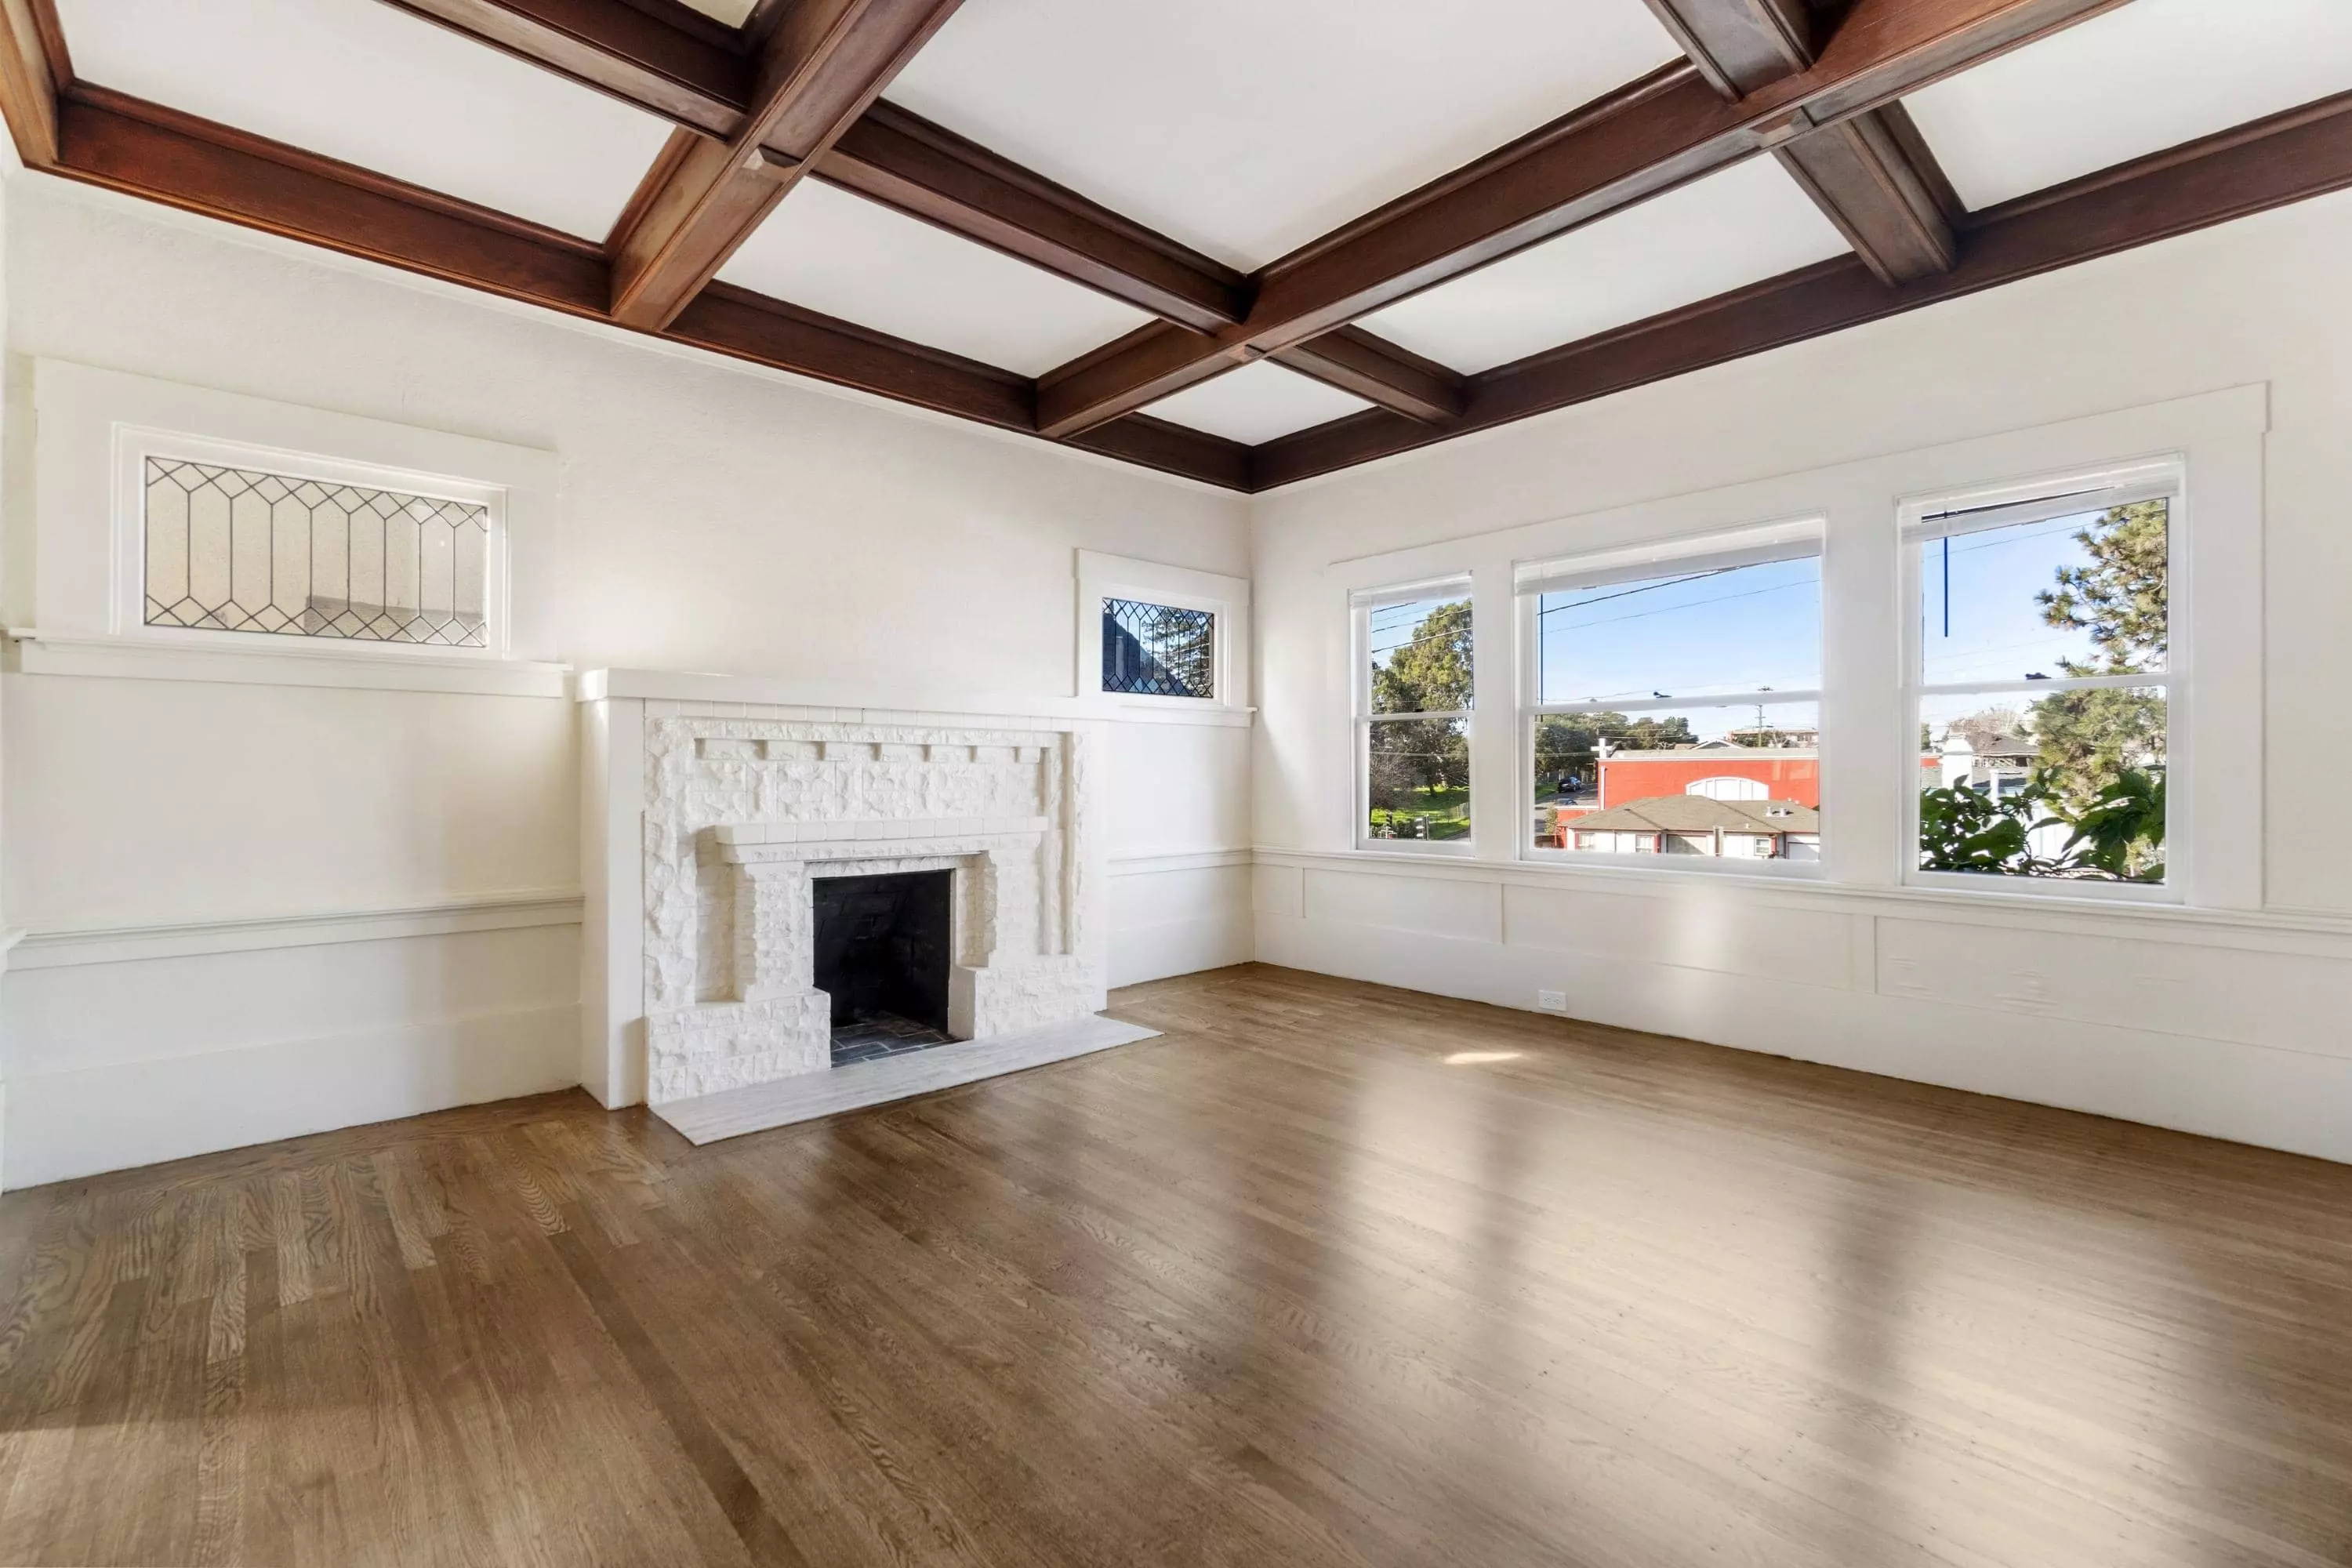
This photo is high resolution and has excellent lighting. It also captures the room's focal point, as well as the entire fireplace. This makes it easy to virtually stage with furniture and decor.
Our professional stagers set it up like this:
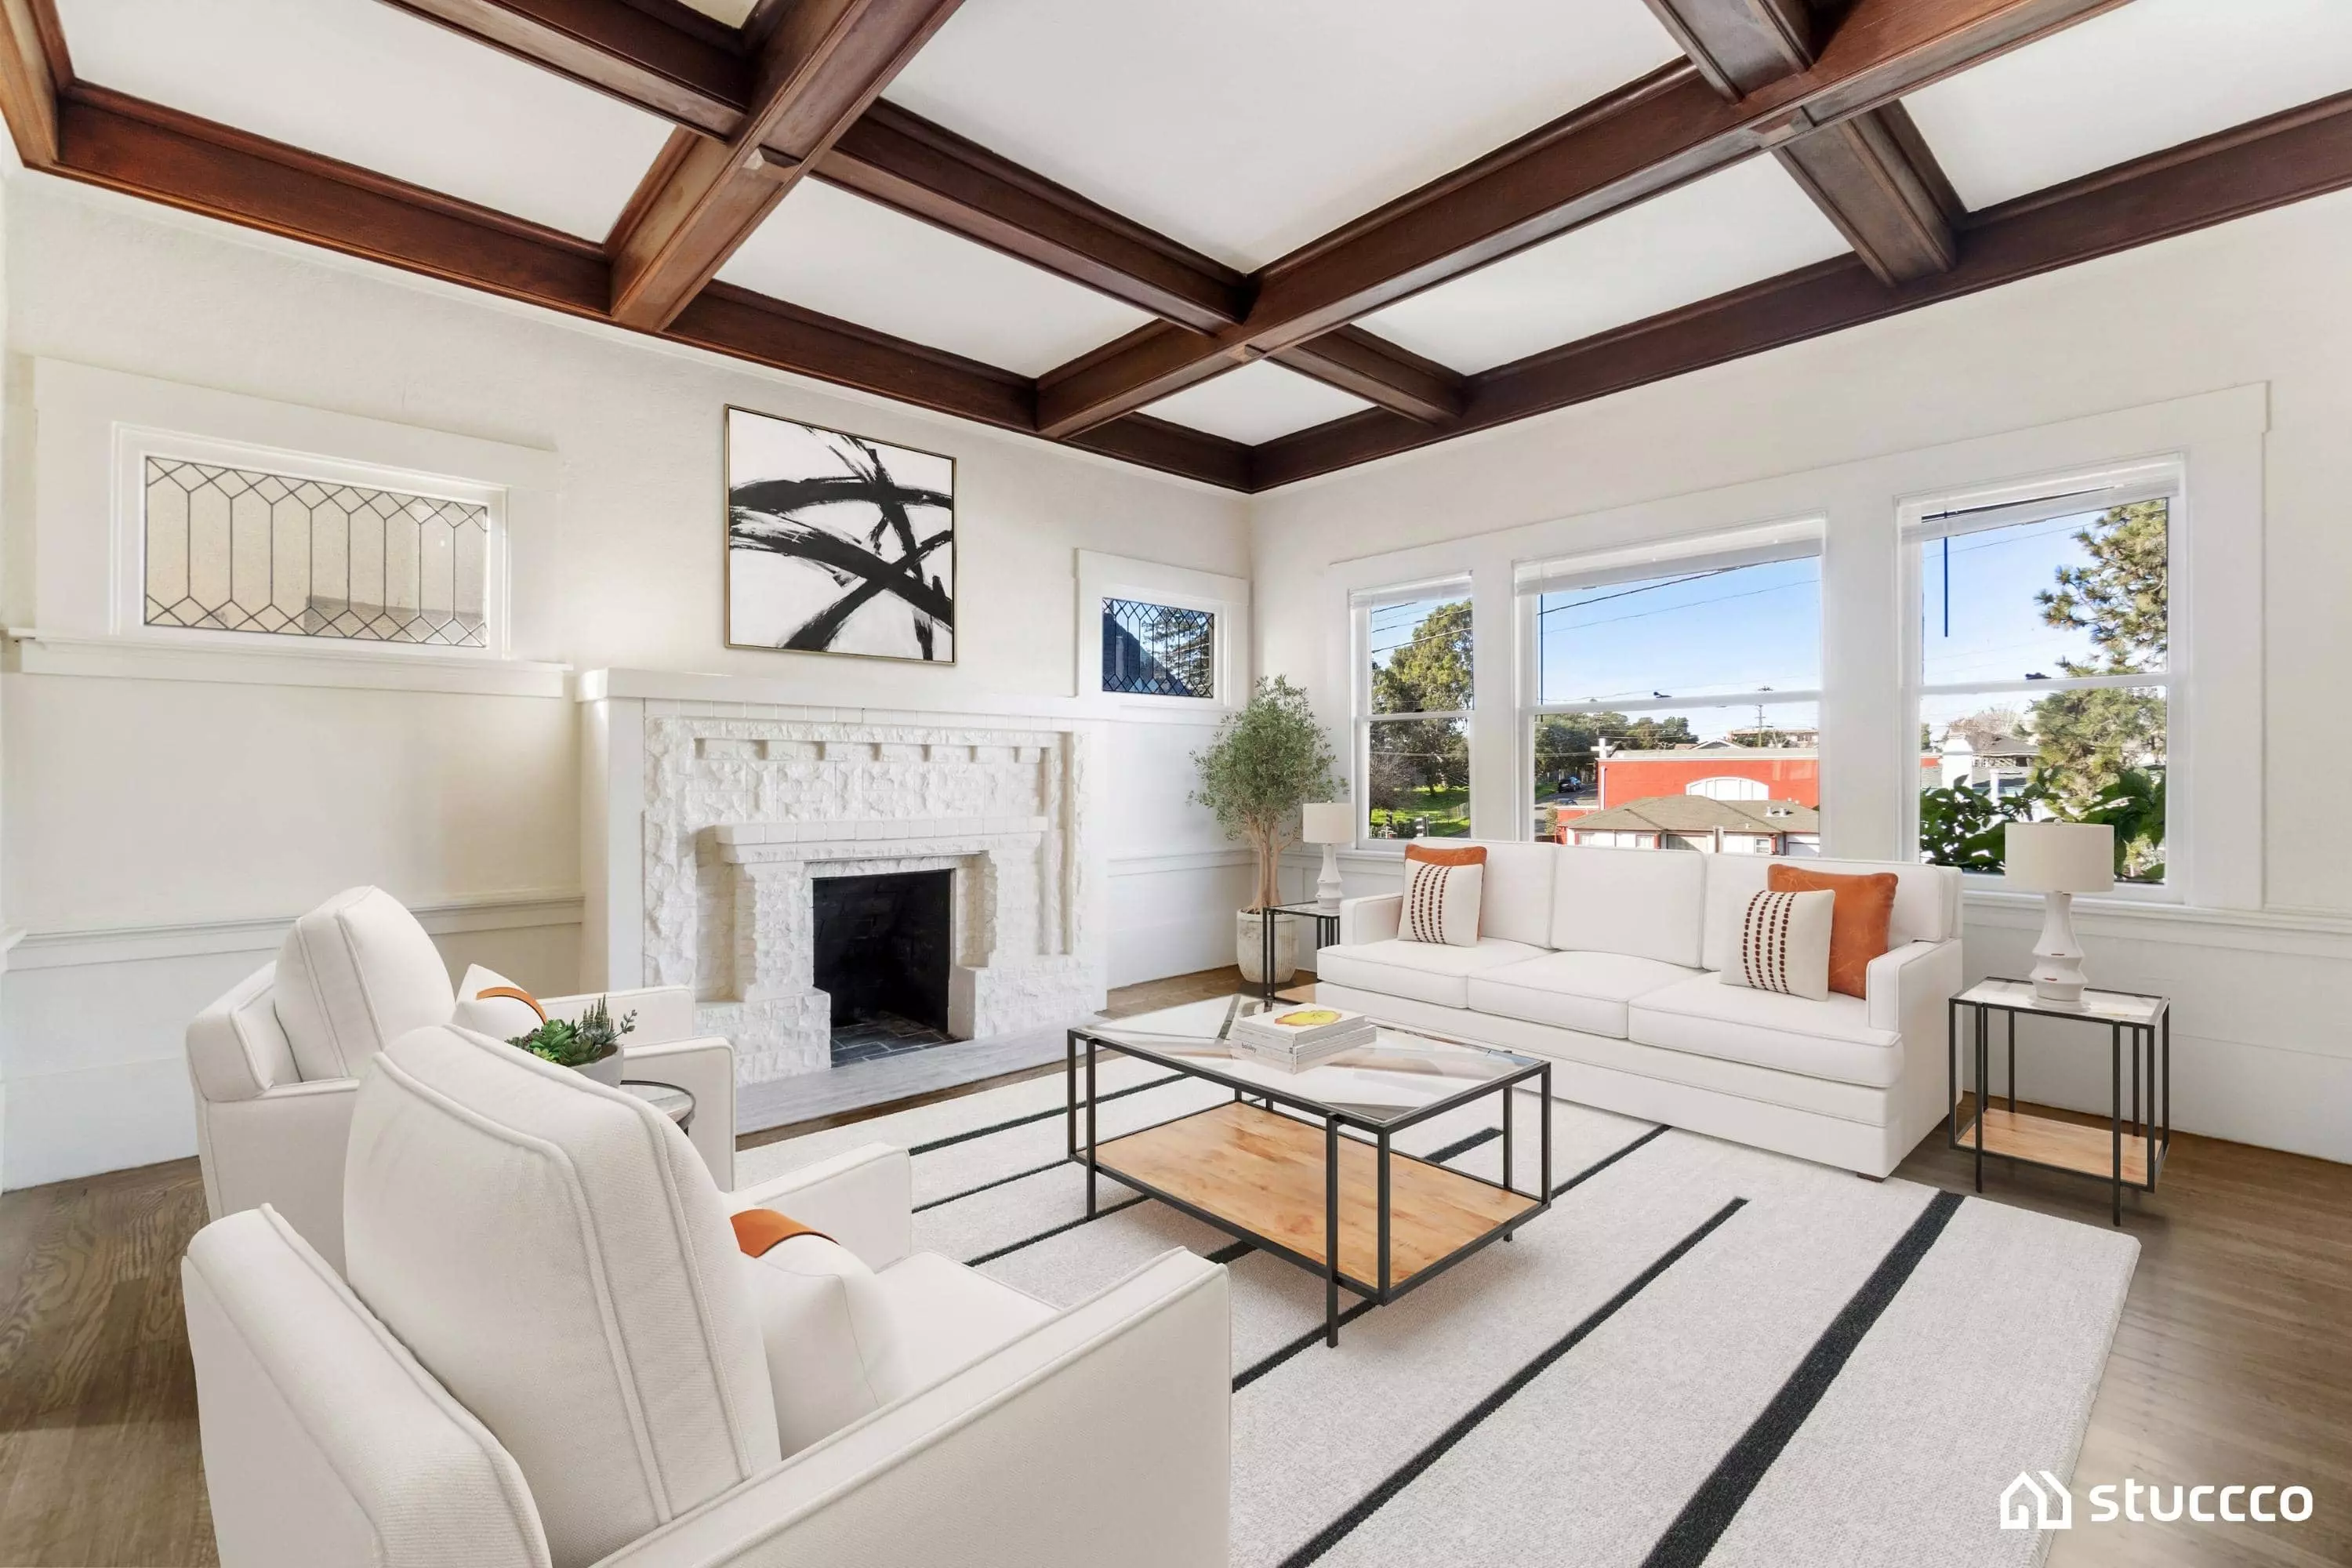
The homeowners and home buyers loved the result!
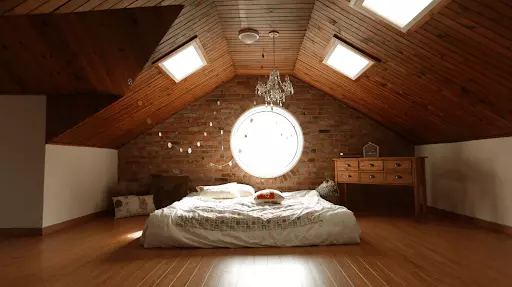
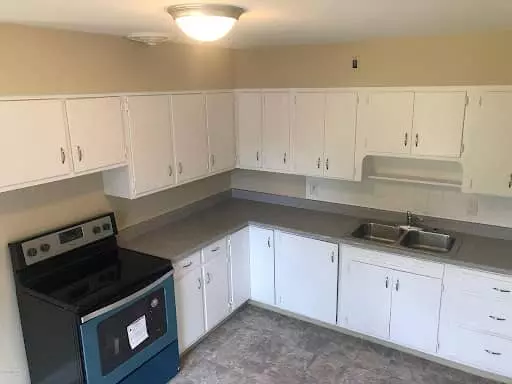
Example #2: Bad Photo for Virtual Staging
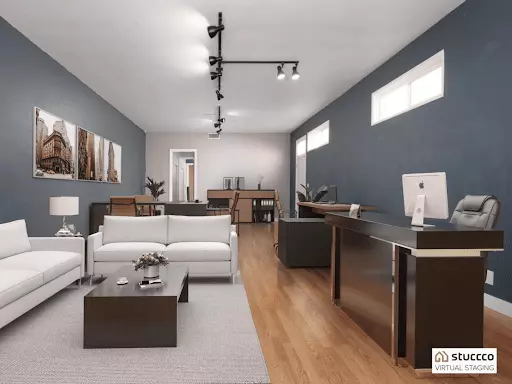
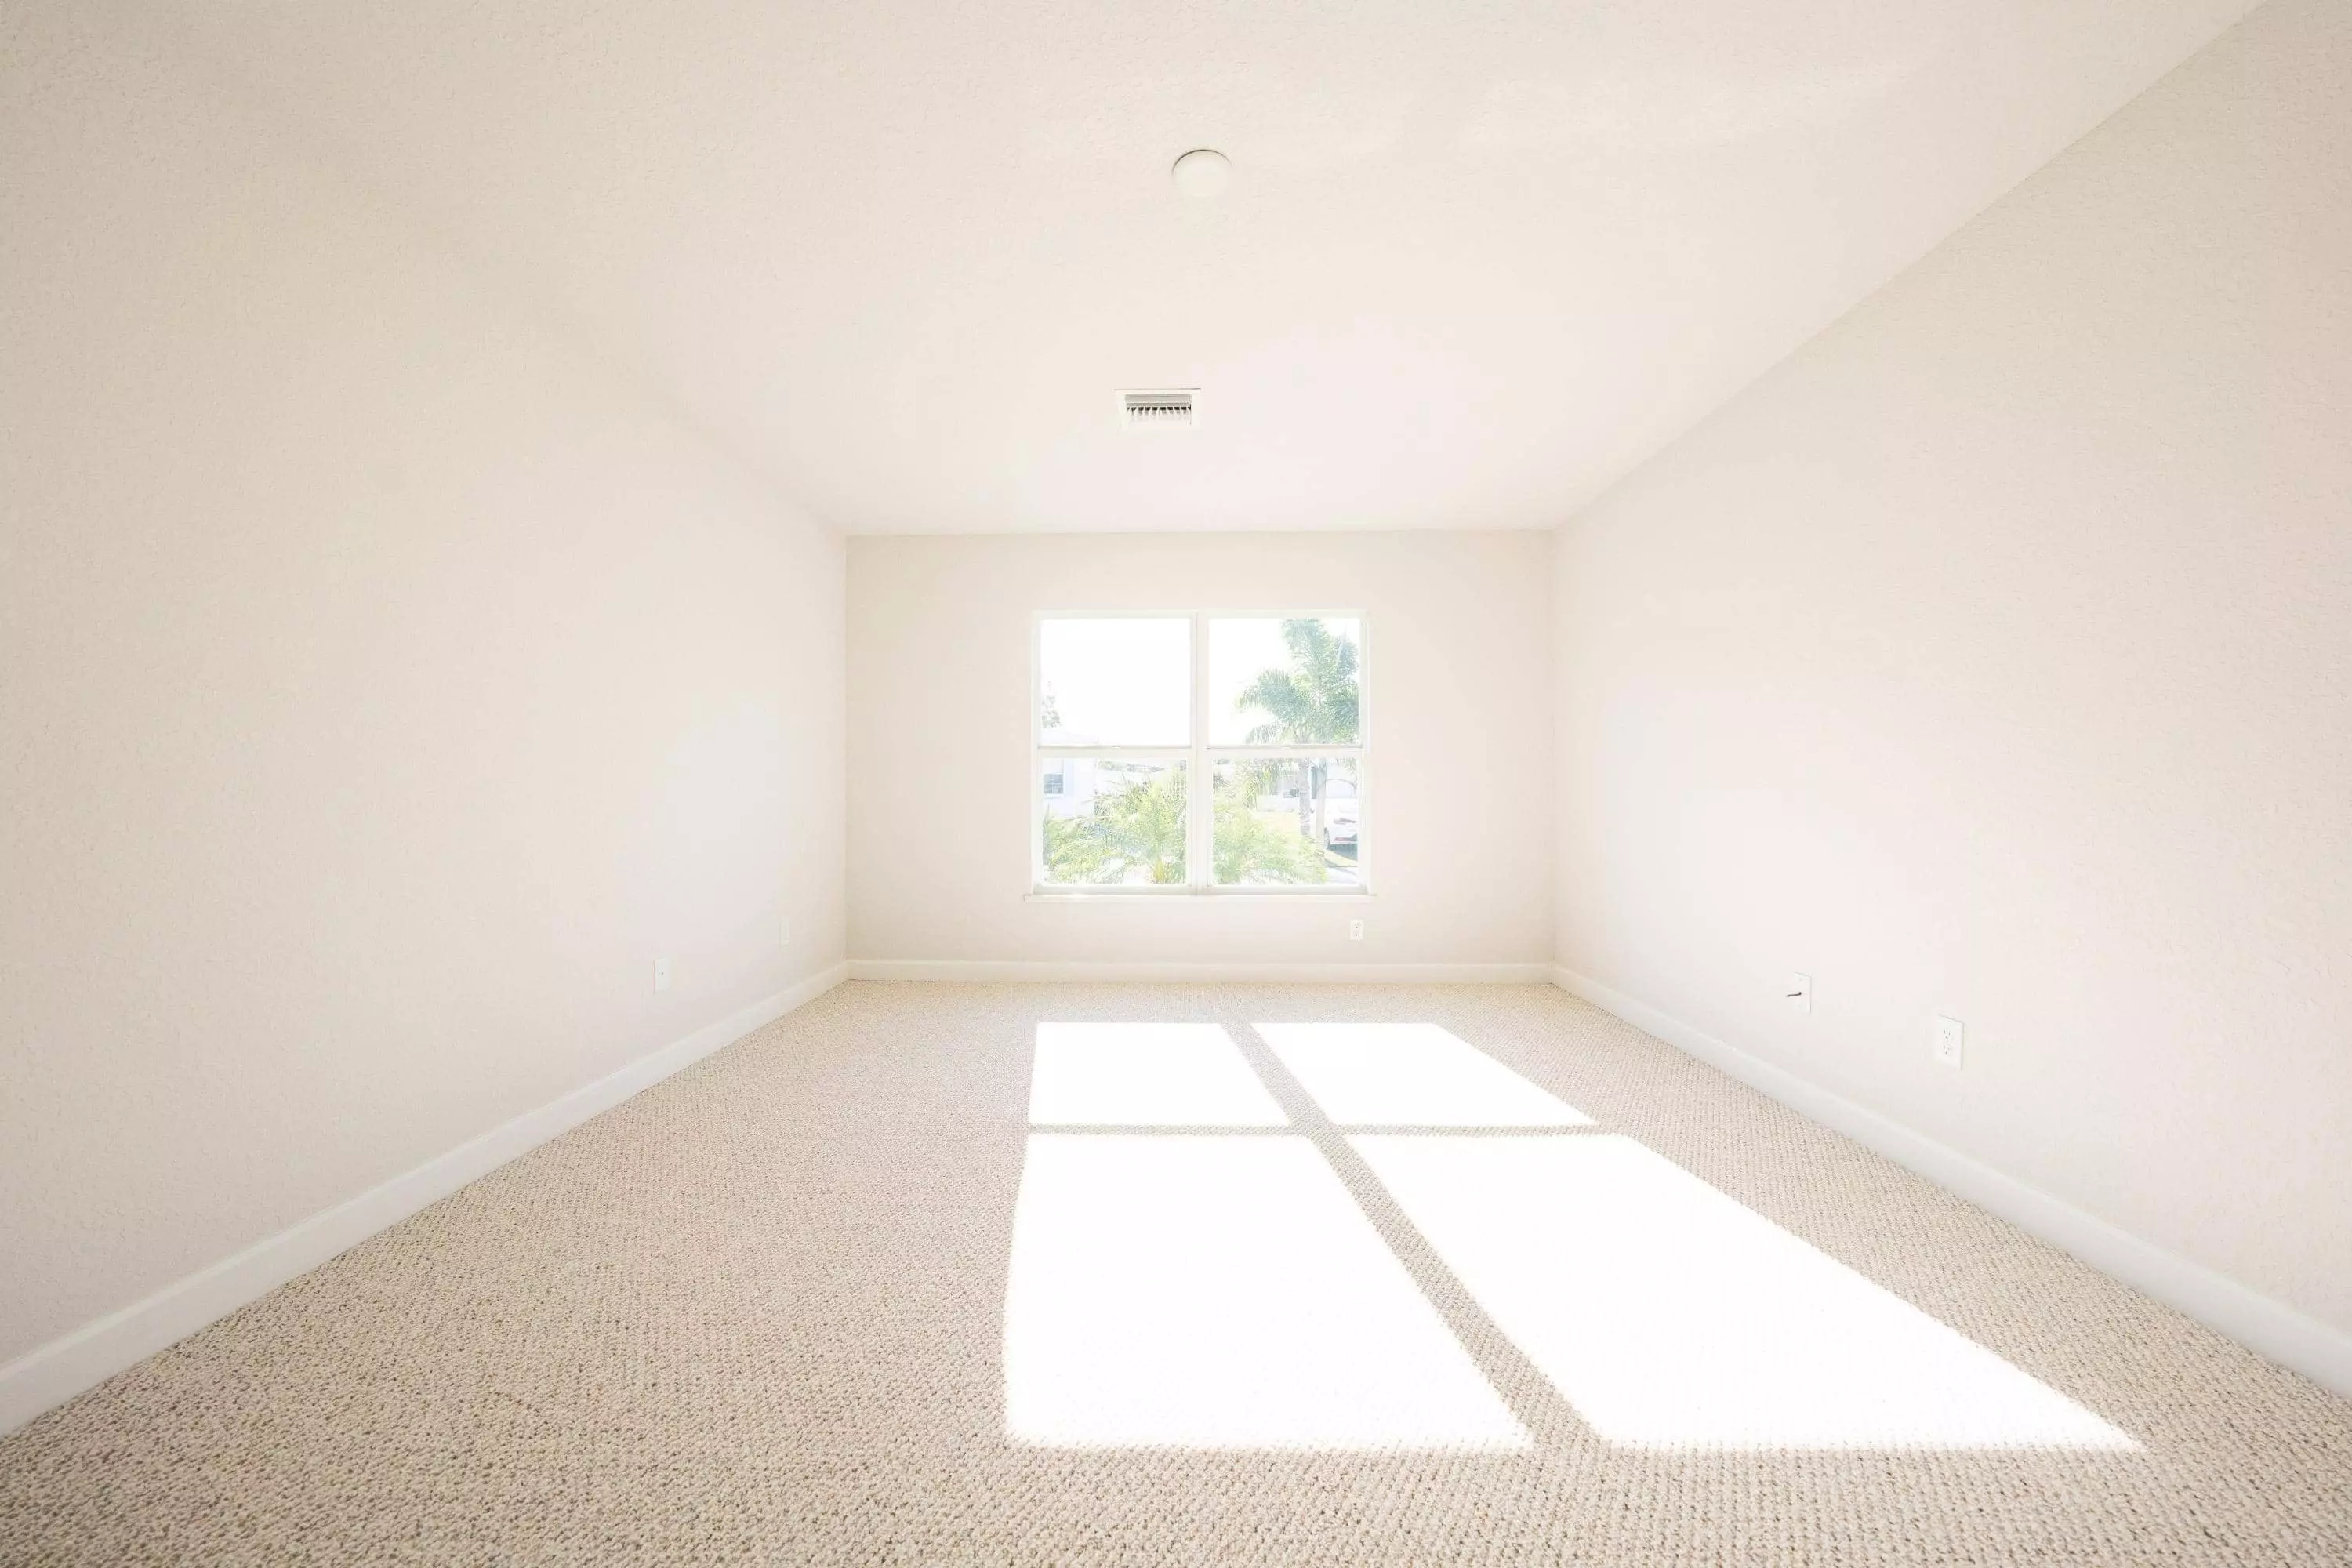
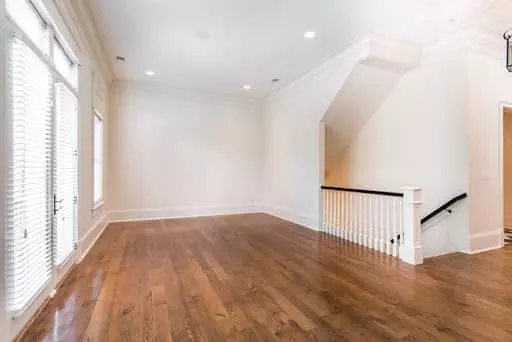
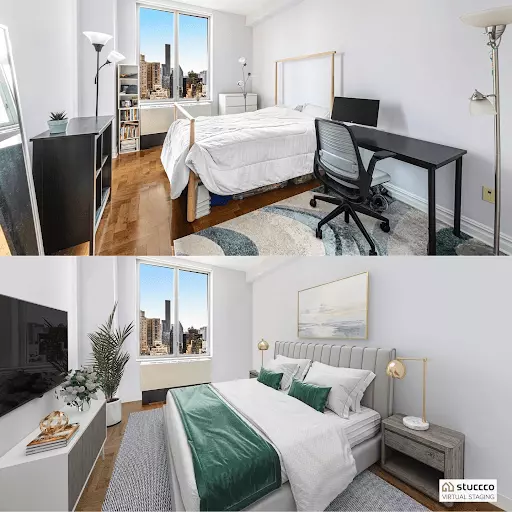
Example #3: Good Photos for Virtual Staging
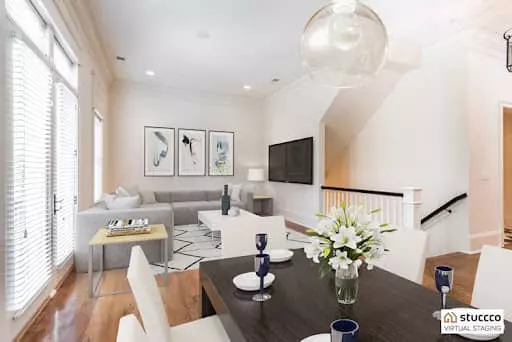
Here's how this photo was virtually staged:
Because this room was clean, the camera settings were right, and the composition was planned out, virtual staging transformed the room to help potential buyers see its full potential.
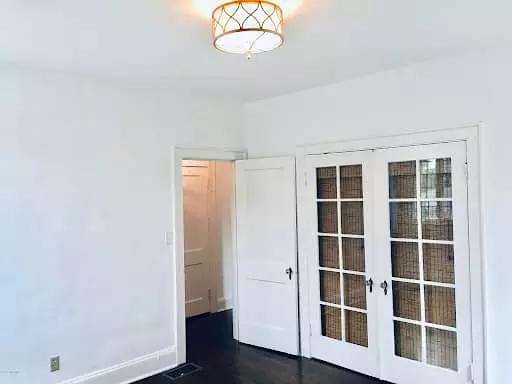
Example #4: Bad Photo for Virtual Staging
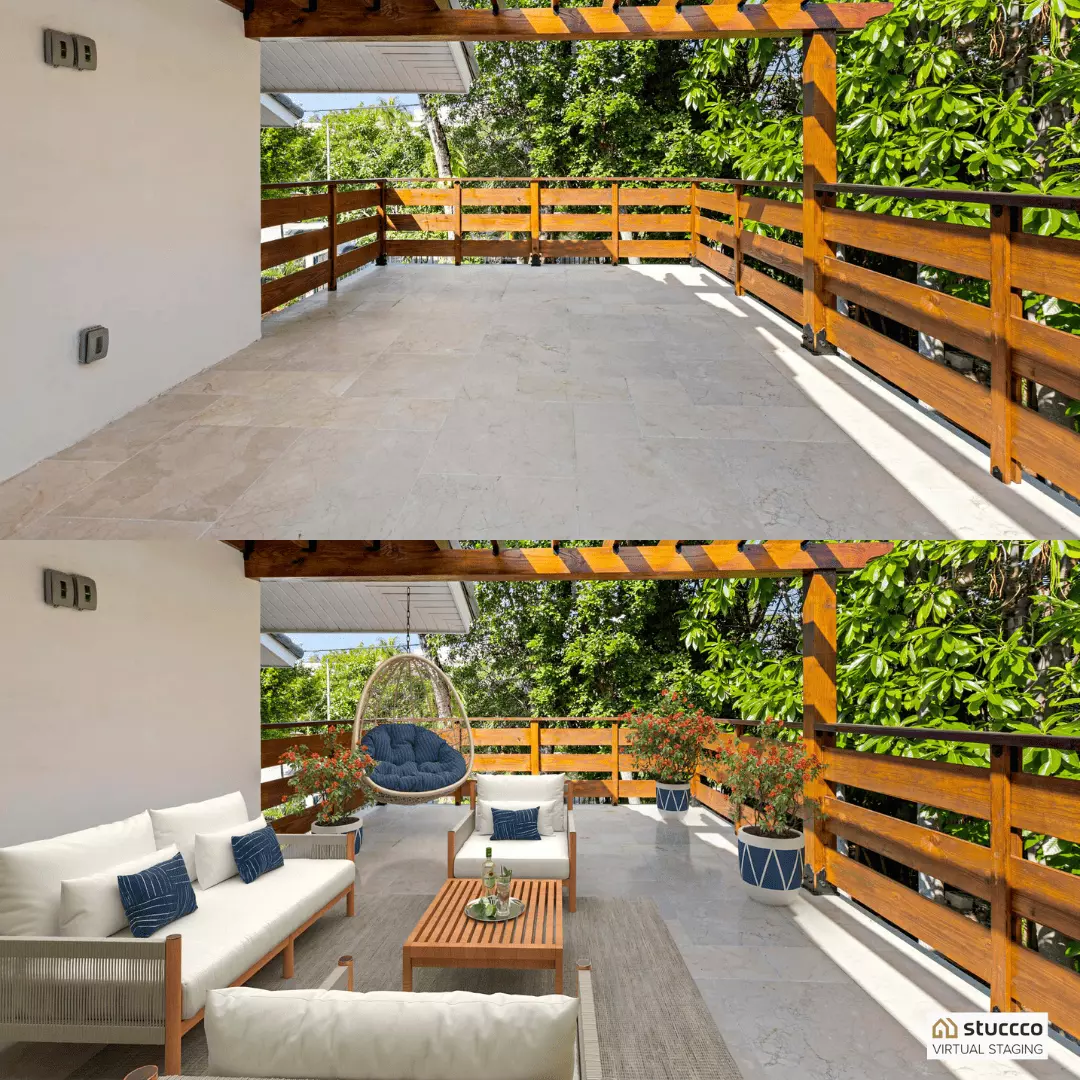
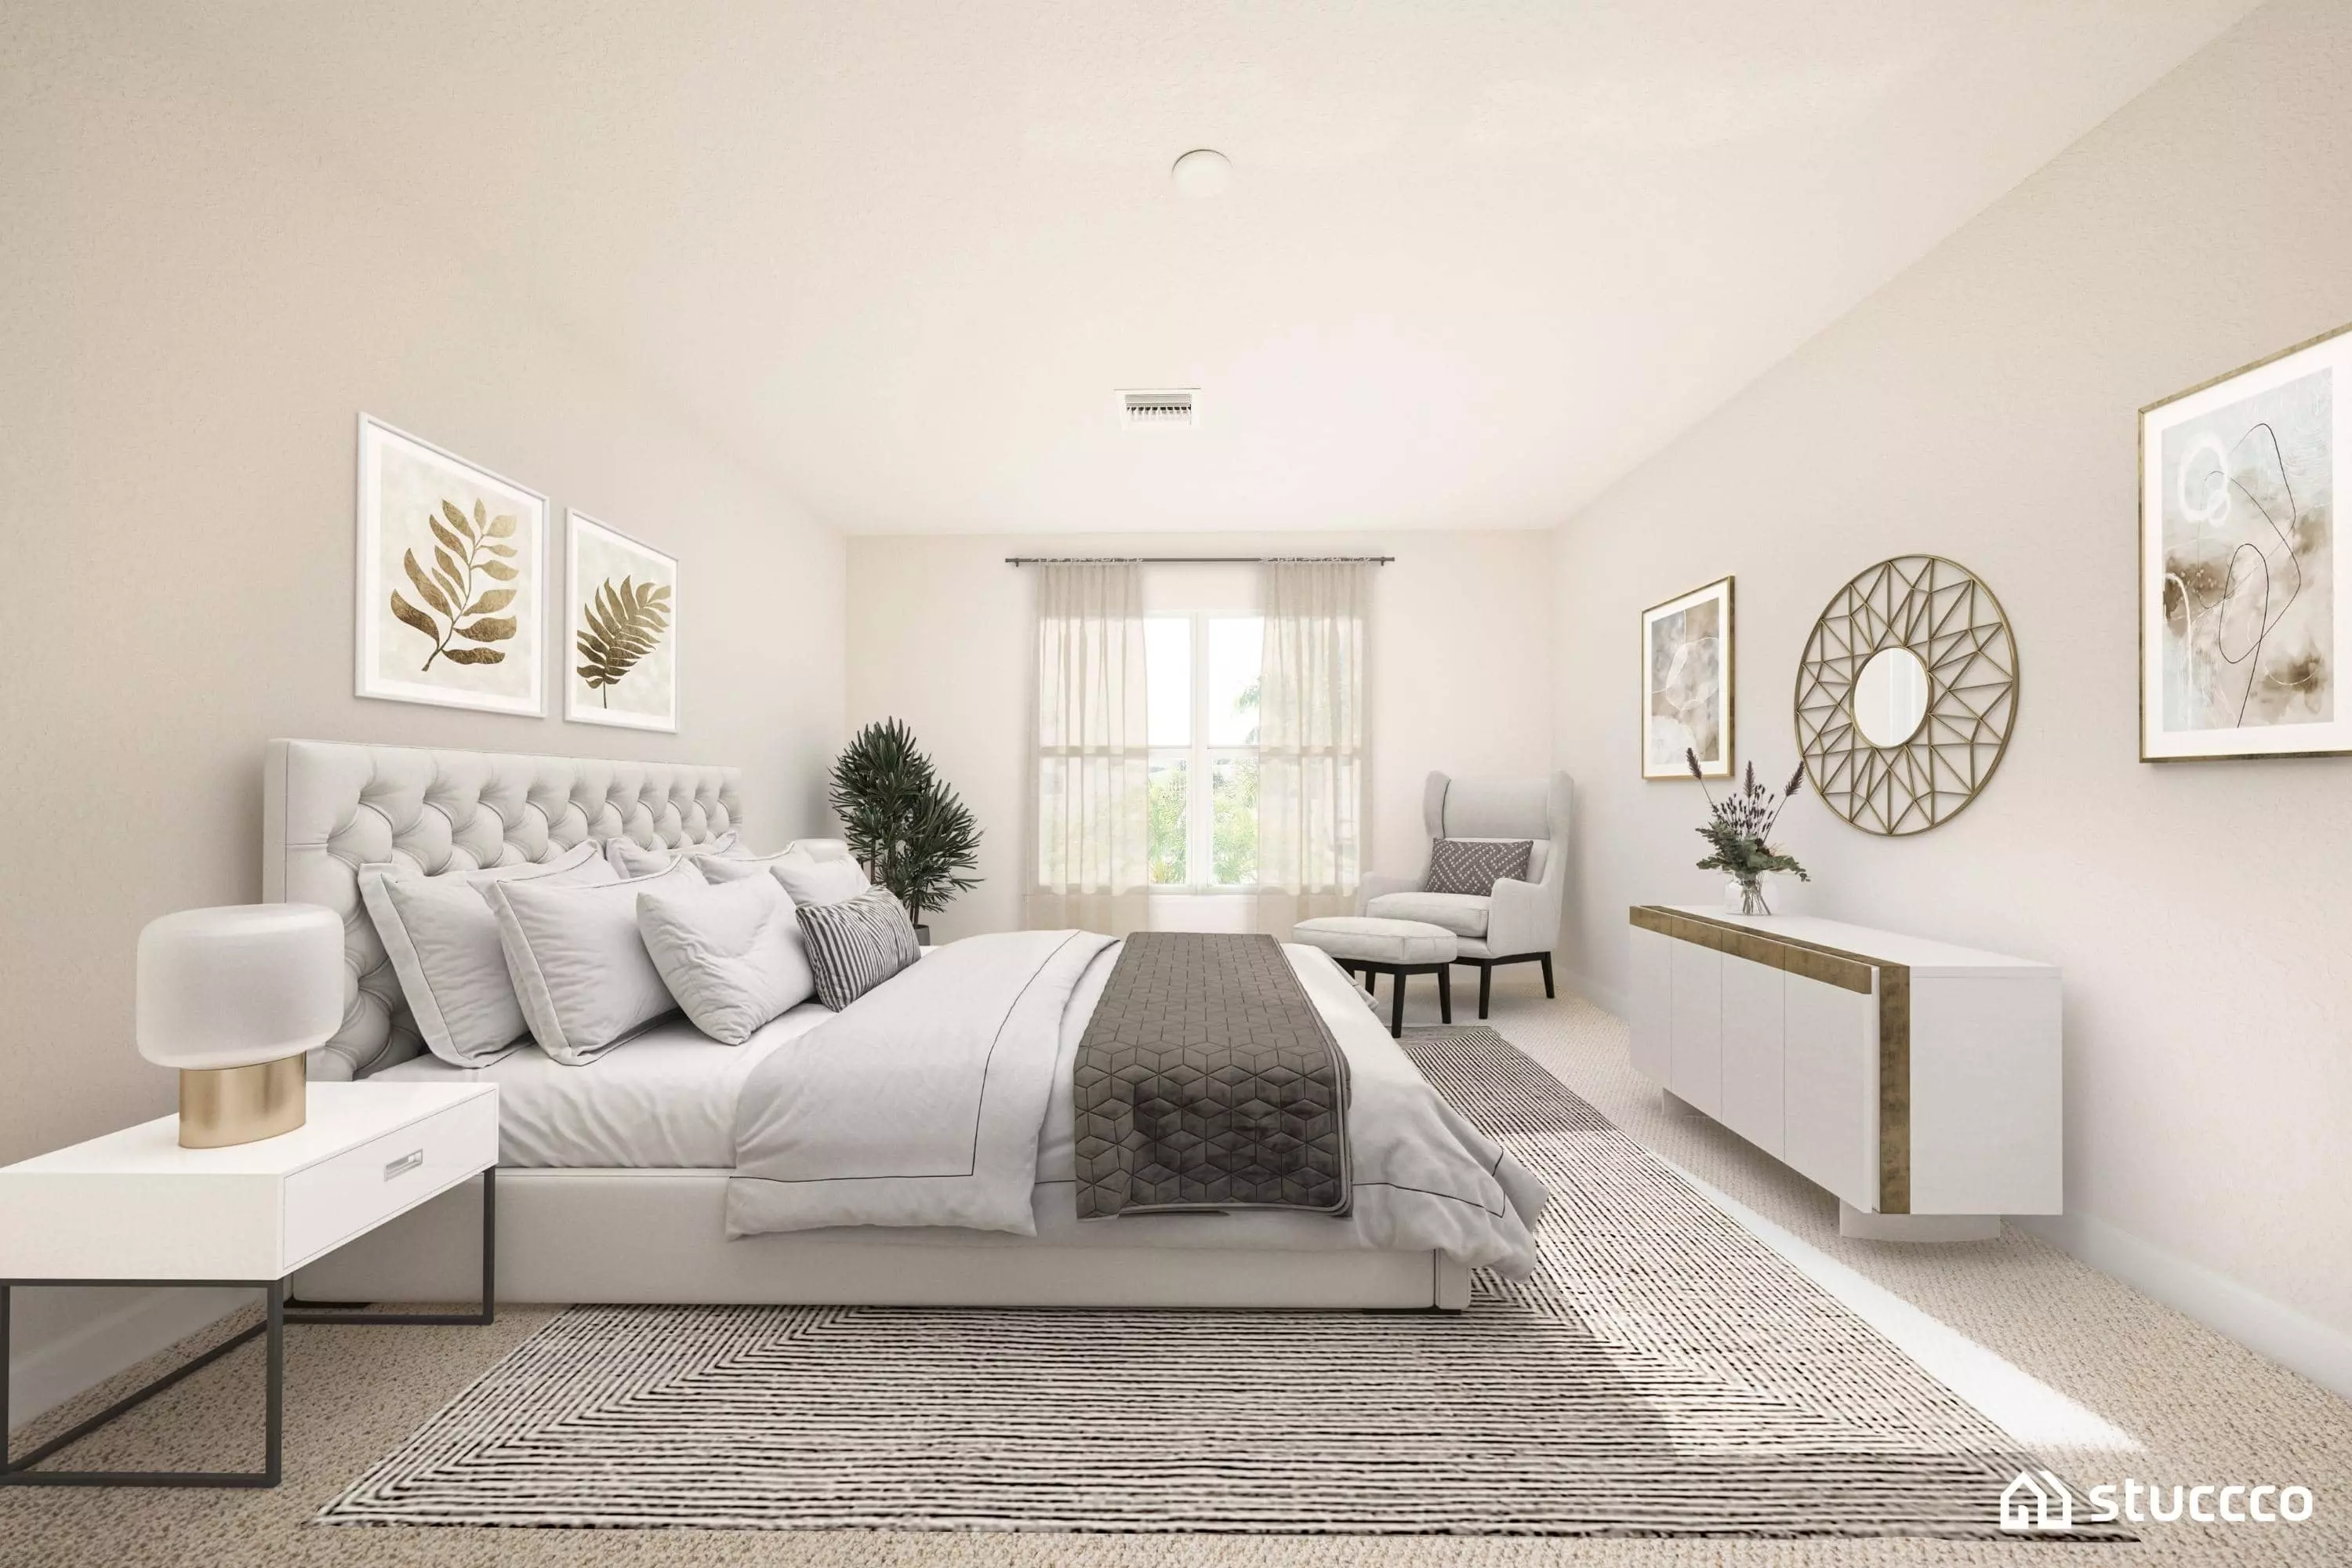
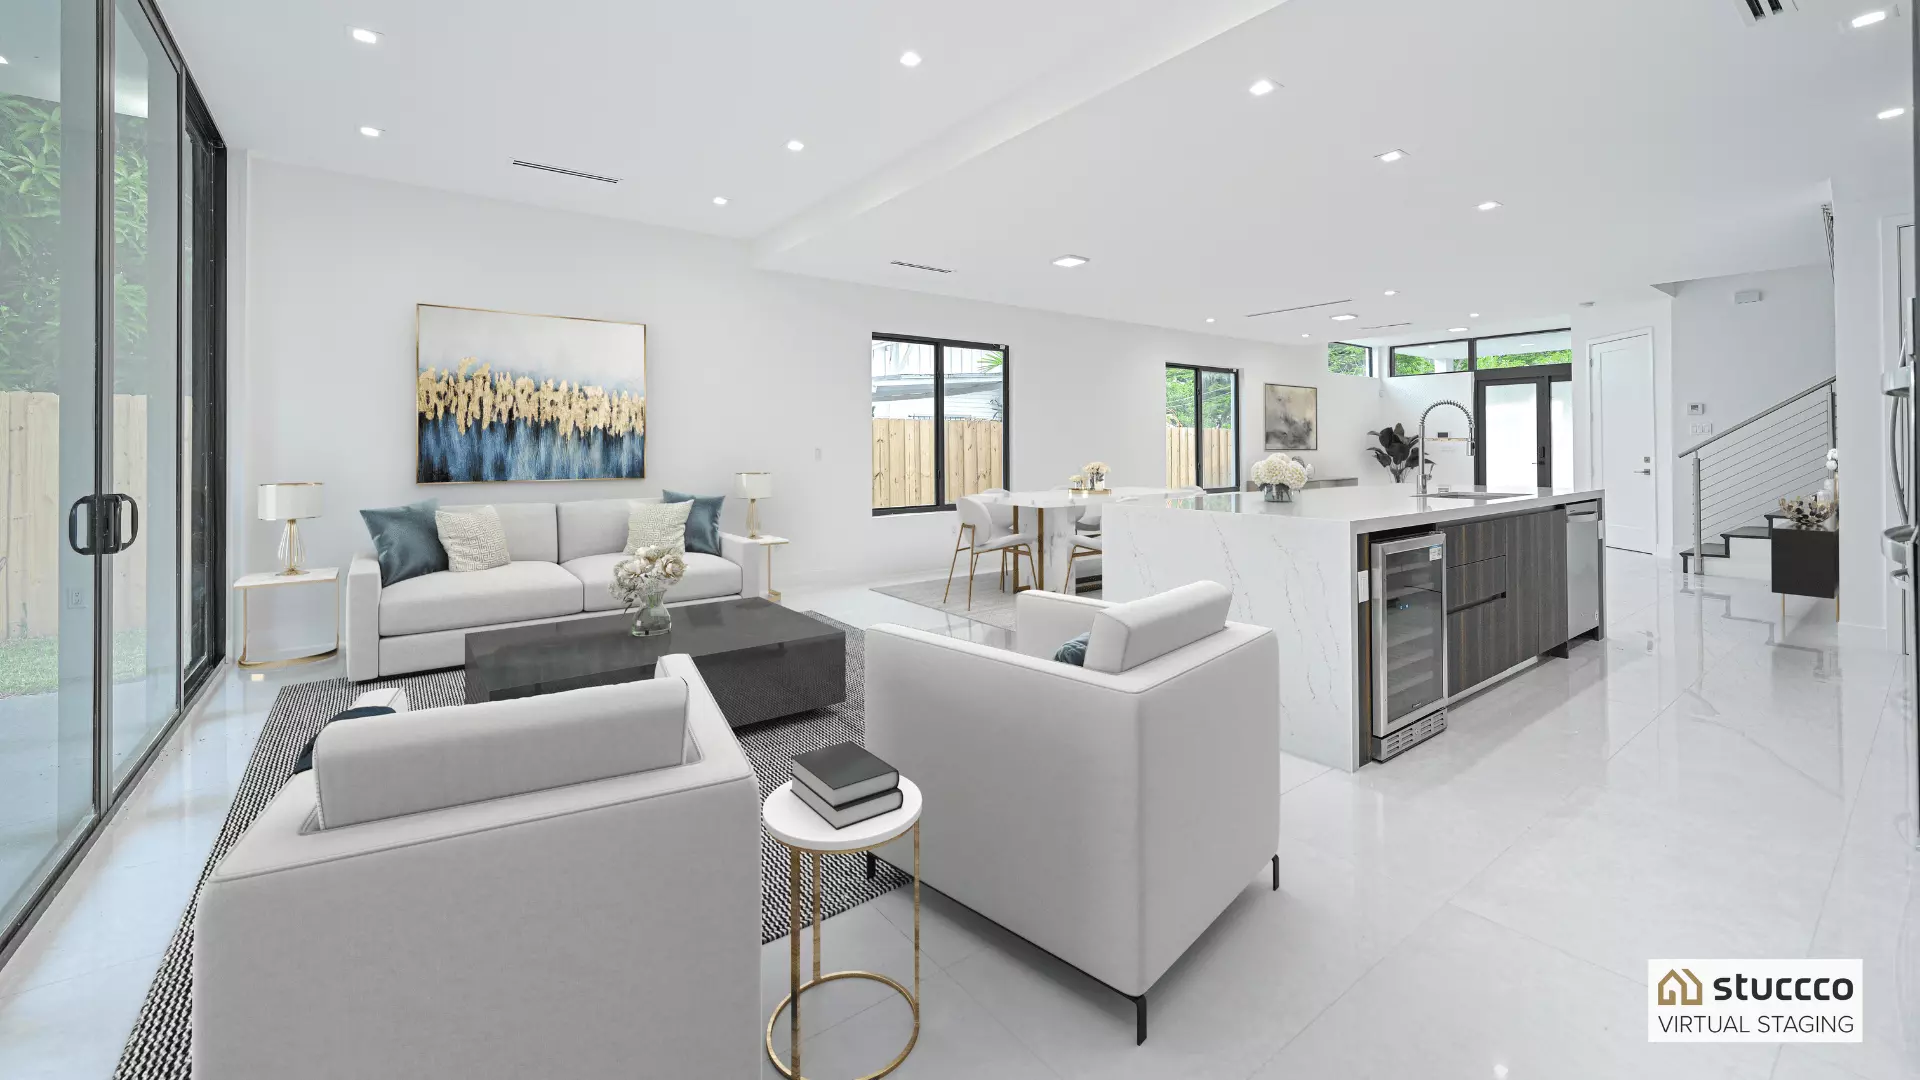
Example #5: Good Photo for Virtual Staging
The camera was also placed in the right location, making it easy to visualize this space's furniture and decor.
This made it easy to show how the space actually looks and feels with the right furniture and decor:
Ahh. Can't you just imagine living in this space?
Example #6: Bad Photo for Virtual Staging
6 Virtual Staging and Photography Tips
Taking listing photos is much more than clicking a button--it is an art. Here are some additional tips to help you take the best photos for the best virtual staging.
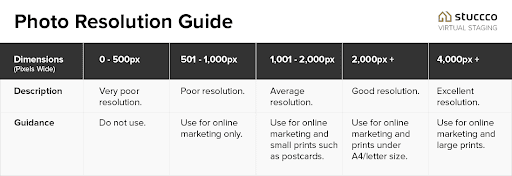
1. Make Sure All Photos Are High Resolution
Photo resolution is measured in pixels, which are basically tiny, colored squares that make up your photo. The higher the resolution of your photo, the more clear it's going to be. High resolutions are typically 1,500-2,000 pixels, which is what you should use for virtual staging.
2. Vacant Rooms are Optional
Although all of the above examples of good quality photos are vacant, it is not necessary when you use Stuccco virtual staging. Furniture removal is part of our staging software, and we can also remove items and clutter from photos when you are unable to remove them yourself.
Plus, virtual staging works for apartments, condos, houses, and everything in between.
If you're still not sure if virtual staging is the right choice, learn about the differences between virtual staging and traditional (or "real) staging.
3. Virtually Stage Multiple Rooms
The average virtual staging customer lists 7-10 staged photos in each listing. However, there's no minimum number of photos--you could order one or up to 25 in one order.
In fact, you could even choose to have a single space staged a few different ways! Many real estate agents use this strategy successfully. The photos will sync up perfectly from all angles, so it's a great way to show the potential for one space.
Because of the cost of virtual staging and its massive ROI, this strategy is an affordable way to maximize the value of your listing. For more tips to successfully sell properties for the max profit, read Real Estate Listing Marketing.
4. Use Multiple Photos in Your Listings
Virtual staging is extremely powerful, but if it's used without complete honesty and transparency, it has the potential to leave a bad taste in the mouth of buyers. Although it's not always legally necessary, we strongly recommend that you include your virtually staged photos along with the “before” listing photos.
If you follow the photography tips in this article, your listing photos will likely already be high quality. You can read more details in our article: Is virtual staging legal?
5. Choose Your Design Style Wisely
When you place your virtual staging order, Stuccco gives you seven design style options:
- Comfortable contemporary
- Farmhouse
- Industrial/urban
- Modern
- New traditional
- Scandinavian
- Sleek contemporary
When choosing from these design styles, think about the home's location and architecture. If you aren't interested in choosing a design style, that's okay! All of our virtual stagers are professional designers, so you can leave the decision to them.
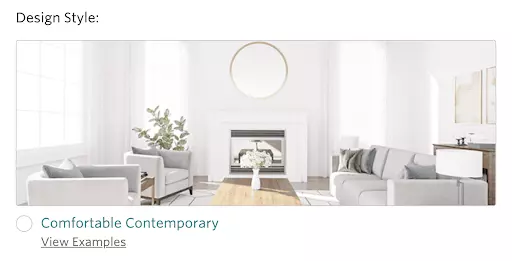
Comfortable Contemporary is the most popular design style, because it always feels fresh and new, and can be fitting for such a wide variety of locations and home styles.
6. Revisions are Included
Stuccco is the only virtual staging service with a turnaround time of 24 hours, 7 days a week. In fact, you can even expedite that and receive your virtually staged images in 12 hours.
We also have a satisfaction guarantee, which means that you receive an unlimited number of revisions. Because your images will be staged by a professional, you can send back-and-forth messages until you're perfectly happy with your images.
If you have more questions about virtual home staging, read virtual staging FAQs, send us a message, or start placing your order.
Related posts: